Get Quote
How to Install Wallpaper
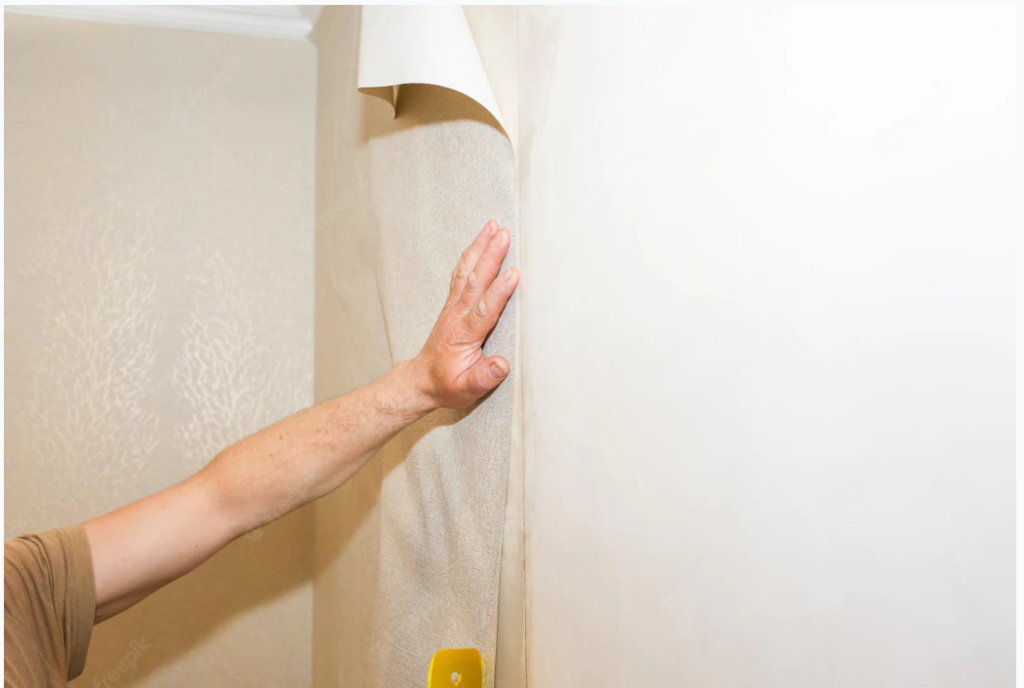
Wallpaper can be so much more than the peeling flowery print in your grandparents’ dining room, with a wide range of fashionable colors and patterns. Rather than spending your afternoon painting your walls, consider overlaying them with fashionable wallpaper.
Wallpapering takes about the same amount of time as painting once you know how to hang it. Use this tutorial as your go-to wallpaper installation reference; we’ll go through wallpapering terms, tools, and how to wallpaper from start to finish.
Wallpapering Terms To Know
Here are some terminologies to be familiar with before learning how to hang wallpaper:
-> Plumb: Straight up and down. This is the vertical equivalent of the term “level.”
-> Booking: This process involves soaking pre-pasted wallpaper and folding it gently paste-side in while making sure not to cause any wrinkling to the folds to “activate” the paste. The sticky sides are then folded in to prevent excessive exposure to air – the adhesive can get tacky but not dry. Next, soak and book as instructed by the manufacturer for wallpaper application.
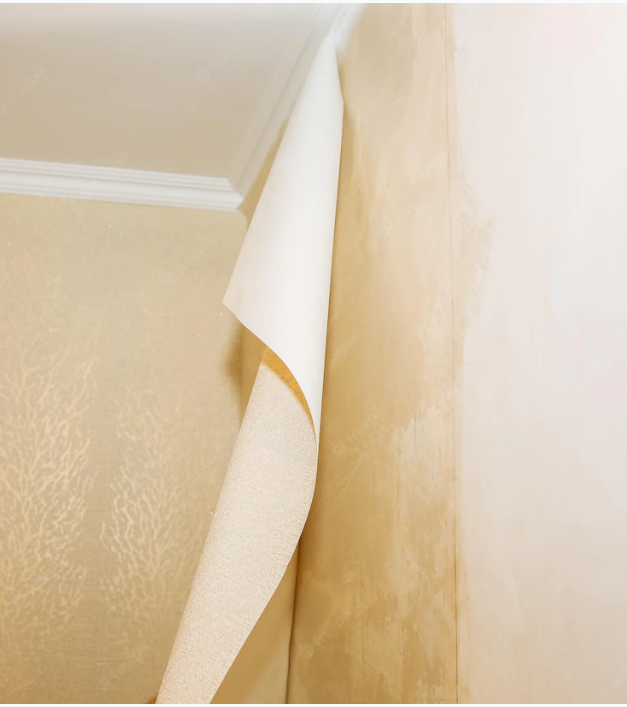
– > Butting: To produce a delicate, appealing seam, apply strips of wallpaper tightly next to one another while making sure not to overlap them. You can prevent wallpaper shrinking by ensuring that the walls are well-primed and the wallpaper is booked; this way, no overlapping occurs.
How to Prepare Your Walls ready for Wallpapering
To guarantee that your wallpaper application looks fantastic and lasts a long time, make sure that your walls are in good shape before you begin.
If you’re unsure whether you can wallpaper over wallpaper, we have a comprehensive Can You Wallpaper Over Wallpaper? Guide that you should read before getting started.
What You’ll Require:
– Spackle
– Spackle knife
– Sandpaper
– Multi-surface soap
– Bucket of water
– Sponge or rag
– Wallpaper primer
– Sponge brush for primer
Step 1: Remove all wall plates and décor and move furniture out of the way
Remove everything that might go in the way of a clean, simple wallpapering job. To avoid shock, cut off the electrical power to a room and remove all outlet plates, switch plates, and wall fixtures that are not permanent.
Step 2: Repair any damage
You’ll need to use spackle to fix any dented, broken, scratched, or otherwise damaged walls. The finished look of the wallpaper may be affected by holes or uneven regions. Apply with a spackle knife and wait for it to dry completely before proceeding.
Step 3: Smoothen the walls with sandpaper
You’ll need to lightly sand away any texture before applying wallpaper with a smooth finish. Make sure to sand away any excess spackle if you’ve used it.
Step 4: Wash the walls and let them dry
Give your walls thorough cleaning using water, multipurpose soap, and a sponge or towel to remove any accumulated dirt or oils. Allow them to dry completely after that.
Step 5: Prime the walls
If you want to protect your walls, you’ll need wallpaper primer. It allows the wallpaper to adhere tightly to your walls without over adhering, allowing easy, damage-free removal later.
The primer also stops the wallpaper from showing through the current wall color. The most common type of wallpaper primer is acrylic, but check the manufacturer’s directions to confirm that you’re getting the proper one for your walls. Simply use a sponge brush to apply an even coat of primer to your walls and allow them to dry completely.
Pro Tip! If you’ve recently painted the walls, wait at least three weeks for the paint to thoroughly cure.
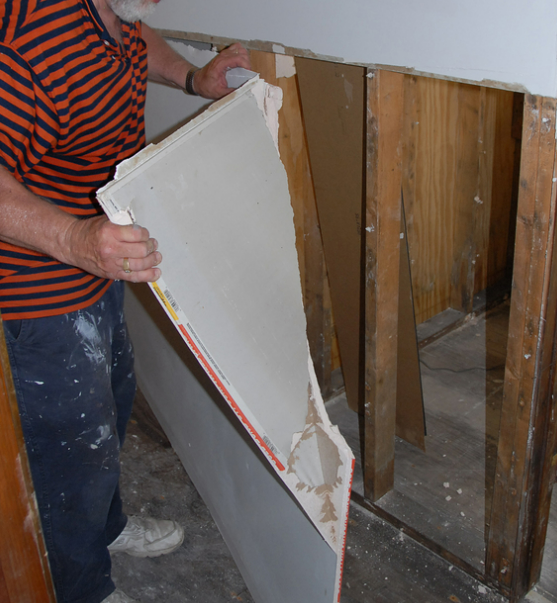
1. Sheetrock repair:
Typically, the sheets are used to repair existing walls and ceilings. They can also thicken a wall or ceiling by covering the current sheets with thinner material. Ceilings made of 14-inch sheetrock can be used in specific cases. Because this thickness is also easier to bend, it is frequently utilized to construct curved walls.
By far, the most typical thickness is the sheetrock. This thickness is available in most varieties, including regular, green, purple, and eco-friendly. With a thickness of 12″, the material is strong enough to cover most load-bearing walls. When dampened first, it may still be installed or removed around a curve, and it isn’t excessively cumbersome for usage on ceilings. Unless building codes specify differently, this thickness is adequate for most uses.
Sheetrock is available in thicknesses ranging from 14 to 58 inches, with 12 inches being the most common. The thickness of a sheet is usually determined by its type and total size. Not every project needs the same thickness. Building codes sometimes dictate the thickness of sheetrock.
In-wall and ceiling applications, the most typical sheetrock thickness is 12″. In bathrooms, the same layer of water-resistant sheetrock is employed. In garages and furnace rooms, thicker choices, such as 5/8″ fire-resistant drywall, are employed.
Contact us today at 8162957203 ([email protected]) to get started on your ceiling damage insurance claim! When storm damage is the reason, we can assist you in determining the cost of Wallpaper Installation.
Qualified Expert
We are Qualified Expert of drywall repair in Kansas city. we provide the best quality of service to our customers.
Workmanship Quality
Quality drywall repair workmanship is a must for any drywall project. Don’t settle for less than the best
Quality Professionals
Mercury Drywall Repair is the right choice for all your drywall needs. We offer a wide range of services to help you get your home back on track.
Flexible Schedule
We offer flexible schedule and same day repair service. Call us today!
Affordable Package
We are the most affordable service provider in Kansas and the best choice for you.
Here’s What Our Client
Say About Us
Very satisfied with them. Great service and quality of work exceeded my expectations. Will definitely call back for future needs and recommend them without a doubt! A+++!