How to fix wet drywall ceiling?
How to fix wet drywall ceiling?
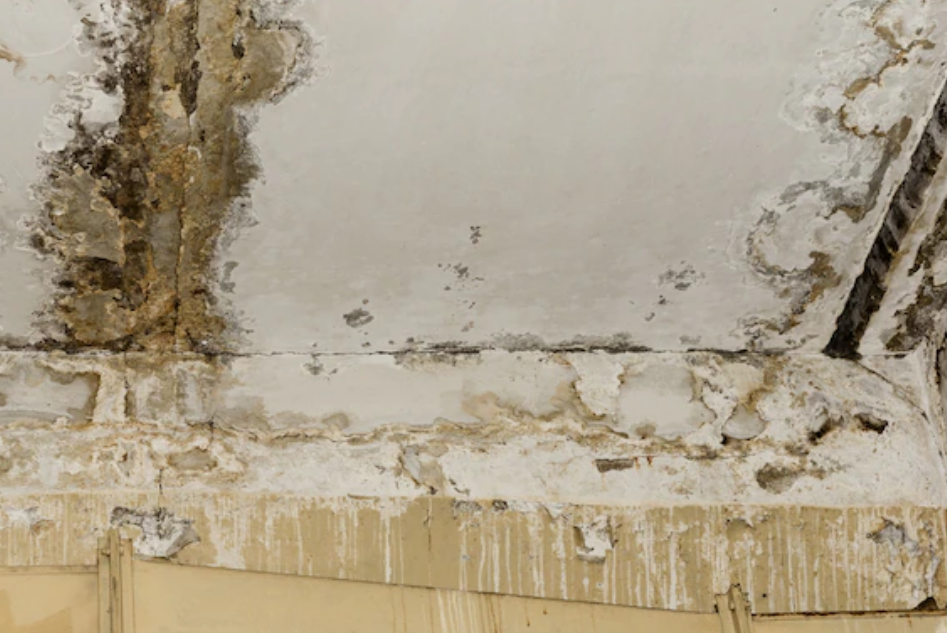
Water damage, whether it comes from a burst heating tank or a leaking roof, is something that must be taken seriously. Whatever the cause of the damage, it should be treated like an emergency, which means you need to act quickly. Excess water is quickly absorbed by porous building materials, including woodwork, drywall, and furniture. It can then spread to other parts of the property, weakening the structure and potentially causing mold and mildew to build up.
The more water that is picked up by building materials, the weaker and less stable they’ll become. A damp problem can quickly become both a structural problem and a health risk to the residents of the property. For this reason, it’s essential you take steps to fix a wet drywall ceiling as soon as possible
How to Fix a Wet Drywall Ceiling
Depending on the cause of the leak, fixing a wet drywall ceiling could be as simple as touching it up with spackle and painting over the drywall repair to make it match the existing work. If the damage is more extensive, you may need to remove a large section of drywall and replace it. Removing drywall ensures you’ve gotten rid of all the damp or contaminated drywall ceiling parts and also exposes the ceiling joists, which makes it easier to install a replacement. In addition, you’ll find it easier to repaint a large block of ceiling than to try to touch up a smaller spot with matching paint.
1. Finding the leak
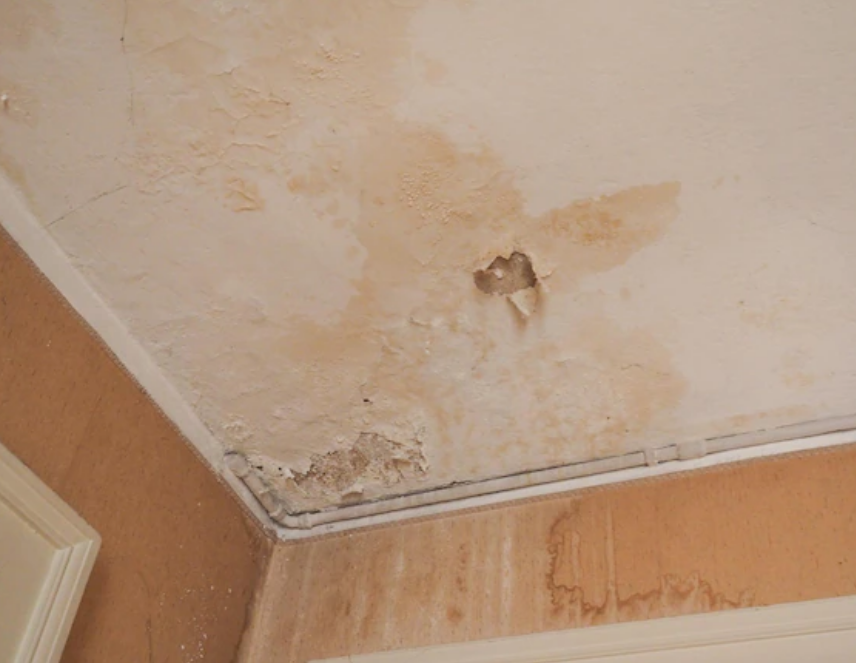
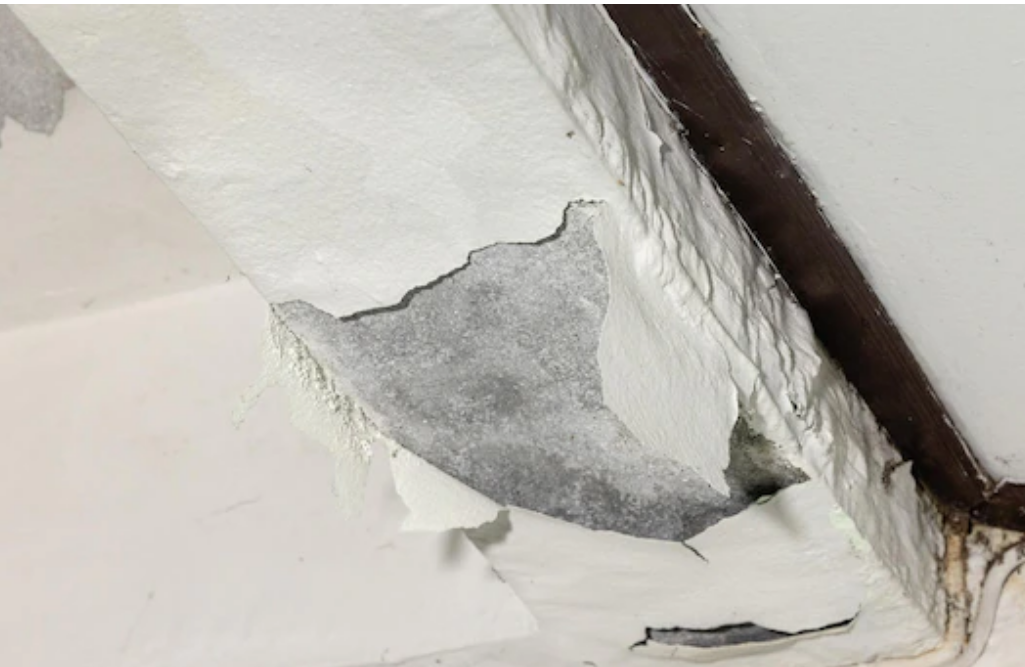
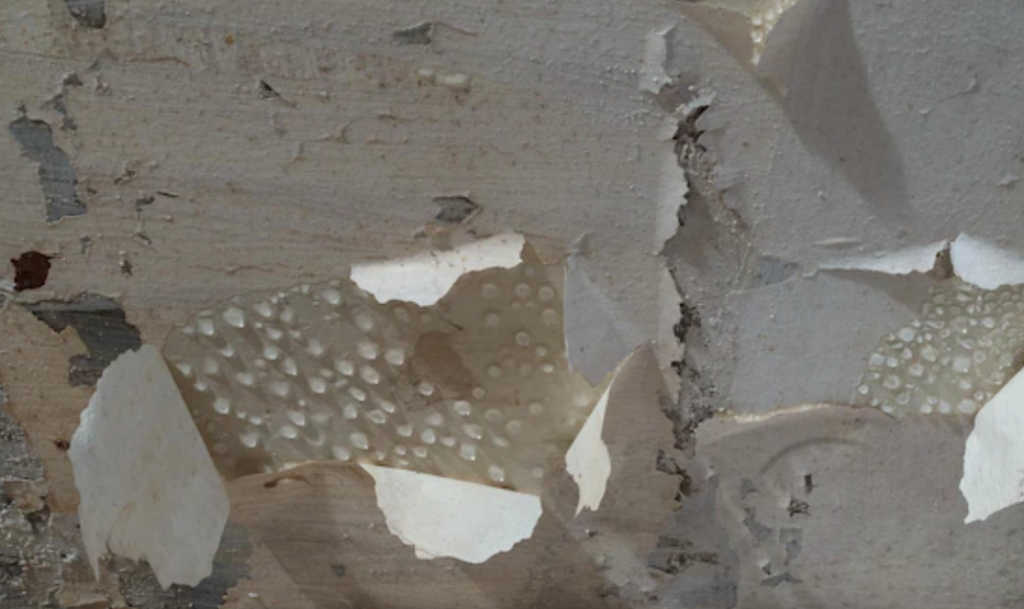
Before doing any work on your ceiling, the first step is to find and seal the leak. If you repair the damage without fixing the leak, you’ll just be faced with more repair work in the future. In some cases, it’s easy to track down the leak because there are signs of cracking, peeling and bubbling, or obvious signs of sagging and damage to the roof. In other cases, the leak is located in a different area, and the water has flowed to the point where you can see the damage. If this is the case, you’ll need to try to trace the flow of the water back to the source, and when doing so you might find even more (hidden) water damage that must be repaired to protect the structural integrity of your home.
If you can’t track down the cause of the damage, don’t ignore it. Remove the damaged drywall so that you can dry out any water damage hidden behind it, and work to trace the leak in the process.
2. Dry out the damaged structure
Once you’ve found and repaired the source of the leak, it’s time to dry out the affected parts of the property.
Lay down a tarp to protect your floor and any soft furnishings. Direct fans towards the damp areas, and use towels to mop up any standing water. If you have access to dehumidifiers, use those to extract as much moisture as possible.
3. Remove the affected drywall ceiling
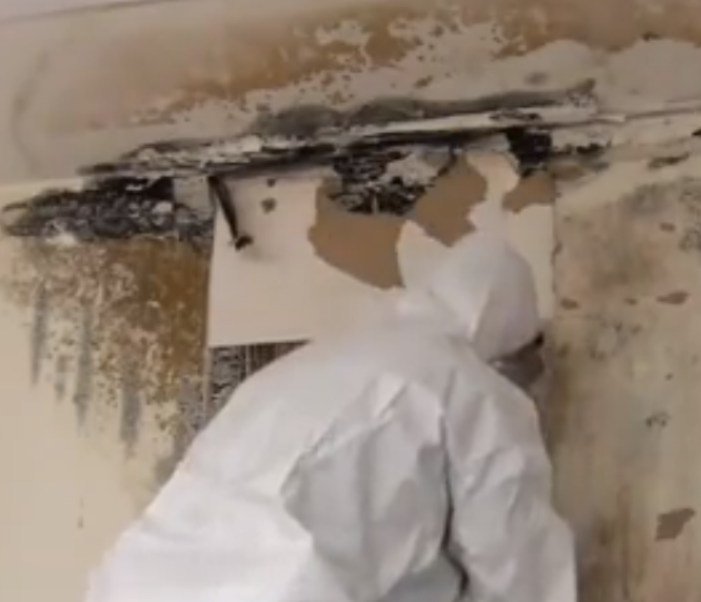
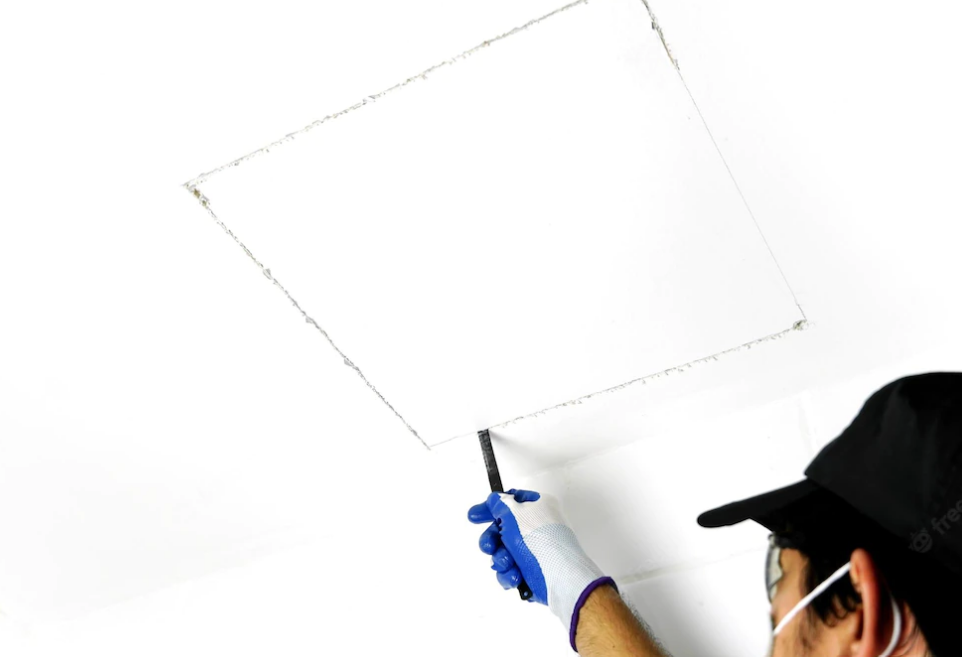
Remove the damaged drywall by breaking it up with a hammer or wrecking bar. Alternatively, if the damage is limited to just a few damp spots, cut away those areas and leave the rest in-situ. Be sure to wear gloves, goggles and a face mask when you’re cutting into drywall. Keep pets and small children out of the working area for safety.
4. Repairing the drywall
Once you’ve removed the damaged parts of the drywall, use sandpaper to smooth out any bumps or rough patches. Fill any small holes with joint compound, then allow the compound to dry before using fine-grained sandpaper to achieve a smooth finish. Measure the size of the hole and cut out a piece of clean drywall that is slightly longer and wider than the hole.
Carefully trim the new piece down to size with a utility knife, and insert it into the hole, gluing it into place. When the adhesive has fully dried, use more joint compound to fill any remaining gaps. Smooth the compound out until the joins cannot be seen.
If you’re working with bigger gaps, consider hiring a restoration company instead of attempting a DIY job. Drywall is heavy and it can be difficult for an inexperienced person to achieve a consistent finish with larger pieces.
5. The finishing touches
Once you’ve finished affixing the replacement pieces of drywall, open any doors and windows in the room to provide ventilation. Make sure the drywall is clean and dry, and any adhesive and joint compound has properly set. Prime the ceiling with and allow the primer to dry, then apply paint following the directions given by the paint manufacturer. This may mean applying multiple coats. For best results, allow the paint to dry between coats. If necessary, repaint the entire ceiling for an even finish.
Water Damage is an Emergency
Water damage should not be taken lightly. If you can’t locate the cause of the leak, or you are worried that the damage it too extensive for you to repair by yourself, contact professional water damage technicians. They have the skills and equipment required to remove any water, dry out all surfaces, fix the leak and repair your drywall ceiling so it looks as good as new.
For more help, please call Mercury Drywall Repair Service at(816)295-7203. We have experts who can help you with water damaged drywalls.